Build your own PC
If you've never put a PC together before, then it can seem quite daunting. We try to demistify the process showing what needs to be done each step of the way.Choosing Parts
Sometimes this is the hardest part as there is just too much choice available for Cases, motherboards, processors etc. If you have never built a computer before, then I'd recommend you start off simple, and don't try and build the ultimate gaming rig on your first attempt. Choosing parts can often take longer than putting the PC together.The first decision you need to make is which processor you want to use, AMD (sempron,athlon) or Intel (celeron,pentium,core2). If you are just building a pc for word processing email and the web, then a sempron or celeron will be more than enough. In this howto, I went with a Intel Celeron 3.06Ghz, mainly because of good driver support for operating systems other than windows XP, which meant I needed a socket LGA775 motherboard.
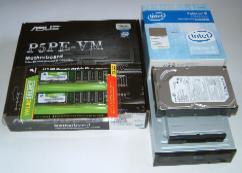
In order to keep things simple I'd start off with an all-in-one motherboard, thats one with built in graphics, sound and networking, as all the drivers you need will come with the motherboard, and setting up will be easier. When choosing a motherboard some manufacturers (such as Asus, GigaByte) list which processors work with each of their motherboards, so you can ensure you get parts that will work together.
To choose memory, manufacturers (such as crucial and kingston) will tell you which memory is compatible with which motherboards.
When choosing the case, ensure the powersupply has the correct connectors for your motherboard (usually 20pin-and-4pin or 24pin-and-4pin).
When choosing a hard disk, although new SATA drives offer better performance than older ATA drives, not all operating systems have built in support for SATA drives, and so may need drivers to access them. This makes the installation process a little more complicated, so for your first PC I'd stick with ATA hard drives.
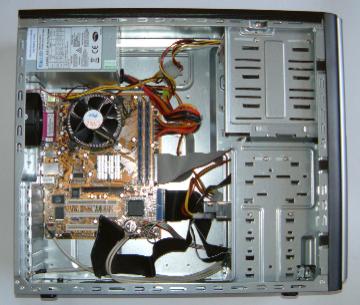
Putting it together
 Once the parts have arrived, check that you have everything you need (ide/sata cables, floppy cable, audio cable from DVD drive to motherboard/soundcard, power lead). You are probably impatient to get started putting it all together, so you might as well start straight away.
 Let all of the parts warm up to room temperature before you start putting them together, as they may be cold from delivery, and you could get condensation which you don't want.
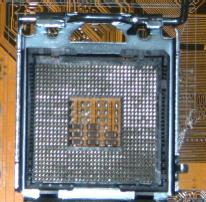
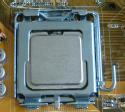
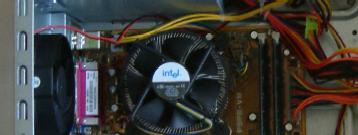
Fitting the processor and memory
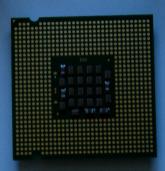
It is usually easier to install these before you put the motherboard in the case as you usually need to push them in firmly, and it's easier to do that on a desk than in the case with only a few spacers taking all the strain.It is always worth reading the instructions that came with your CPU on how to install it first. Usually the important bit, is getting the CPU the right way round for the socket so the pins line up. Most processors have a pin or two missing in one corner, that has to match up with the corresponding corner of the socket.
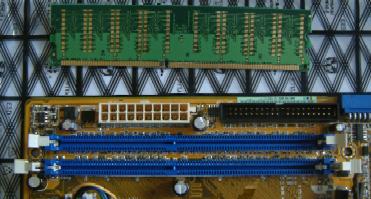
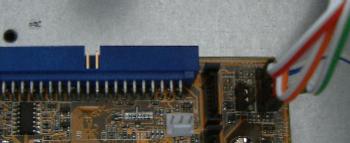
To install the memory, push the clips on the memory slot open, and the memory will only fit one way round, as the indent in the memory has to line up with the matching tag in the slot.
Installing the motherboard
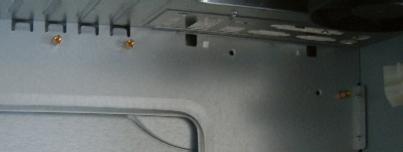
The motherboard should come with a small backplate for fitting in the case if the faceplate already in the case doesn't match. Check carefully as it might not be obvious if holes don't line up, as is the two backplates below.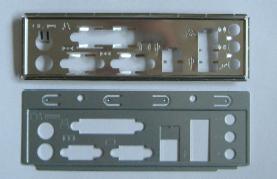
Once in place, put in the first screw, but don't tighten it up until all the screws are in place, holding the motherboard firmly.
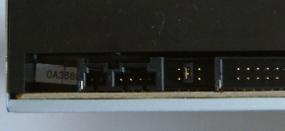
We are almost ready to test the motherboard for the first time. Connect the powersupply to the motherboard, following the instructions in the motherboard's manual, and remembering to connect the large 20/24 pin connector and the 4 ping connector.
Now is a good time to test that everything is ok before installing all the drives and cables. Double check that all the connectors are in the right place and the motherboard is screwed in properly. If you are happy, then connect a monitor, keyboard and power lead, and turn on the PC.
If all goes well, the PC will beep and the screen show the computer starting, and then complaining it doesn't have any drives to boot from.
If nothing happens, check that there isn't an on/off switch on the powersupply unit itself, or that you've got the reset/power button leads the wrong way round .
Installing the drives
Once you have the PC starting ok, you now just need to install the drives to finish. If you have just one drive on each cable, then it can be jumpered as either cable-select or master, if you have two drives on a cable, then they need to be either both on cable-select, or one master and one slave.